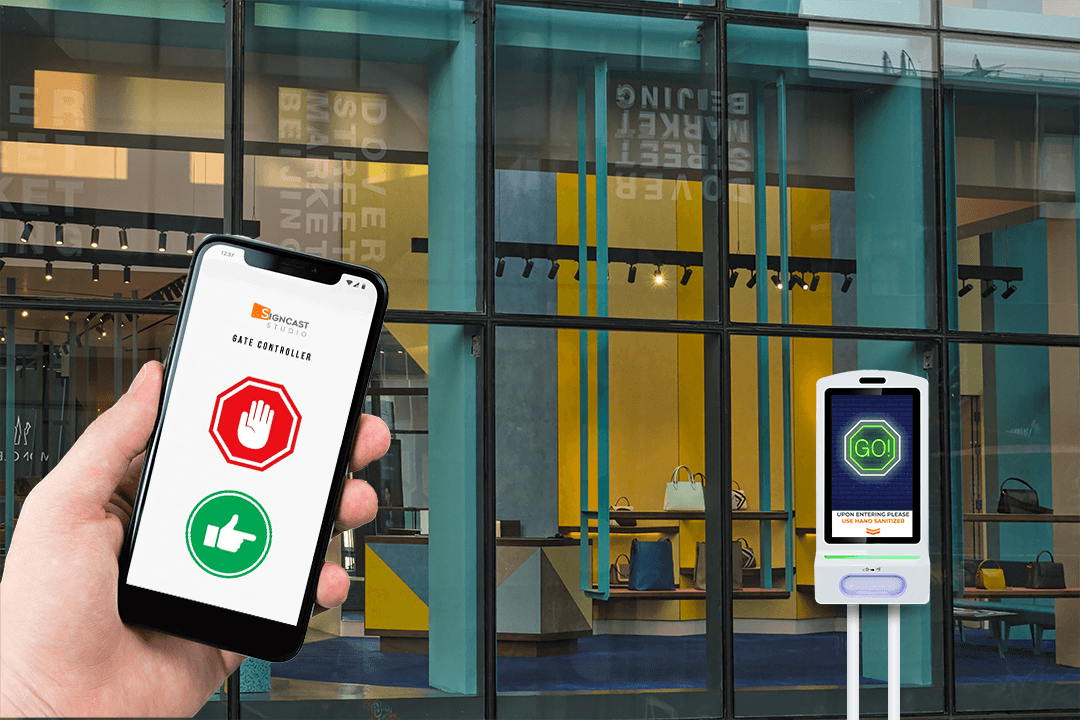
Keep visitors outside the store informed with visual alerts and warnings to control your store entrance, when customers should stop and wait or when is it safe to enter.

Many stores today are still under lockdown, however, they will soon begin to be reopened.
To keep your customers and employees safe together with following government social distancing restrictions on Coronavirus, Signcast offers a simple Customer Traffic Light to instruct customers whether they can enter the store venue safely or should they stop and wait outside, before they can enter. The digital sign is displayed on a screen, positioned at the retail store entrance, while the stop & go is controlled by a smartphone of any employee you like.
Benefits of using the gate controller:
- Helps to keep X people in the store in an easy way
- No integration needed and can be up and running within one hour
- Works on any screen
- You can also run it over Android tablets
- Controlled from any smartphone
- Screen can also display information, news, promotions and guidance
- Use the screen to remind people to wear masks, keep social distancing, not to go in if they feel sick.
Components needed for the traffic light controller:
- Laptop for initial setup and content update via NoviSign online Studio
- Screen on stand at the entrance of the store (check out our Hand Satinizer Kiosks here
- Smartphone that will be used as the traffic controller

How to set it up:
*works only on Android units with Android 4.4. and above.
- Login to your online Studio account.
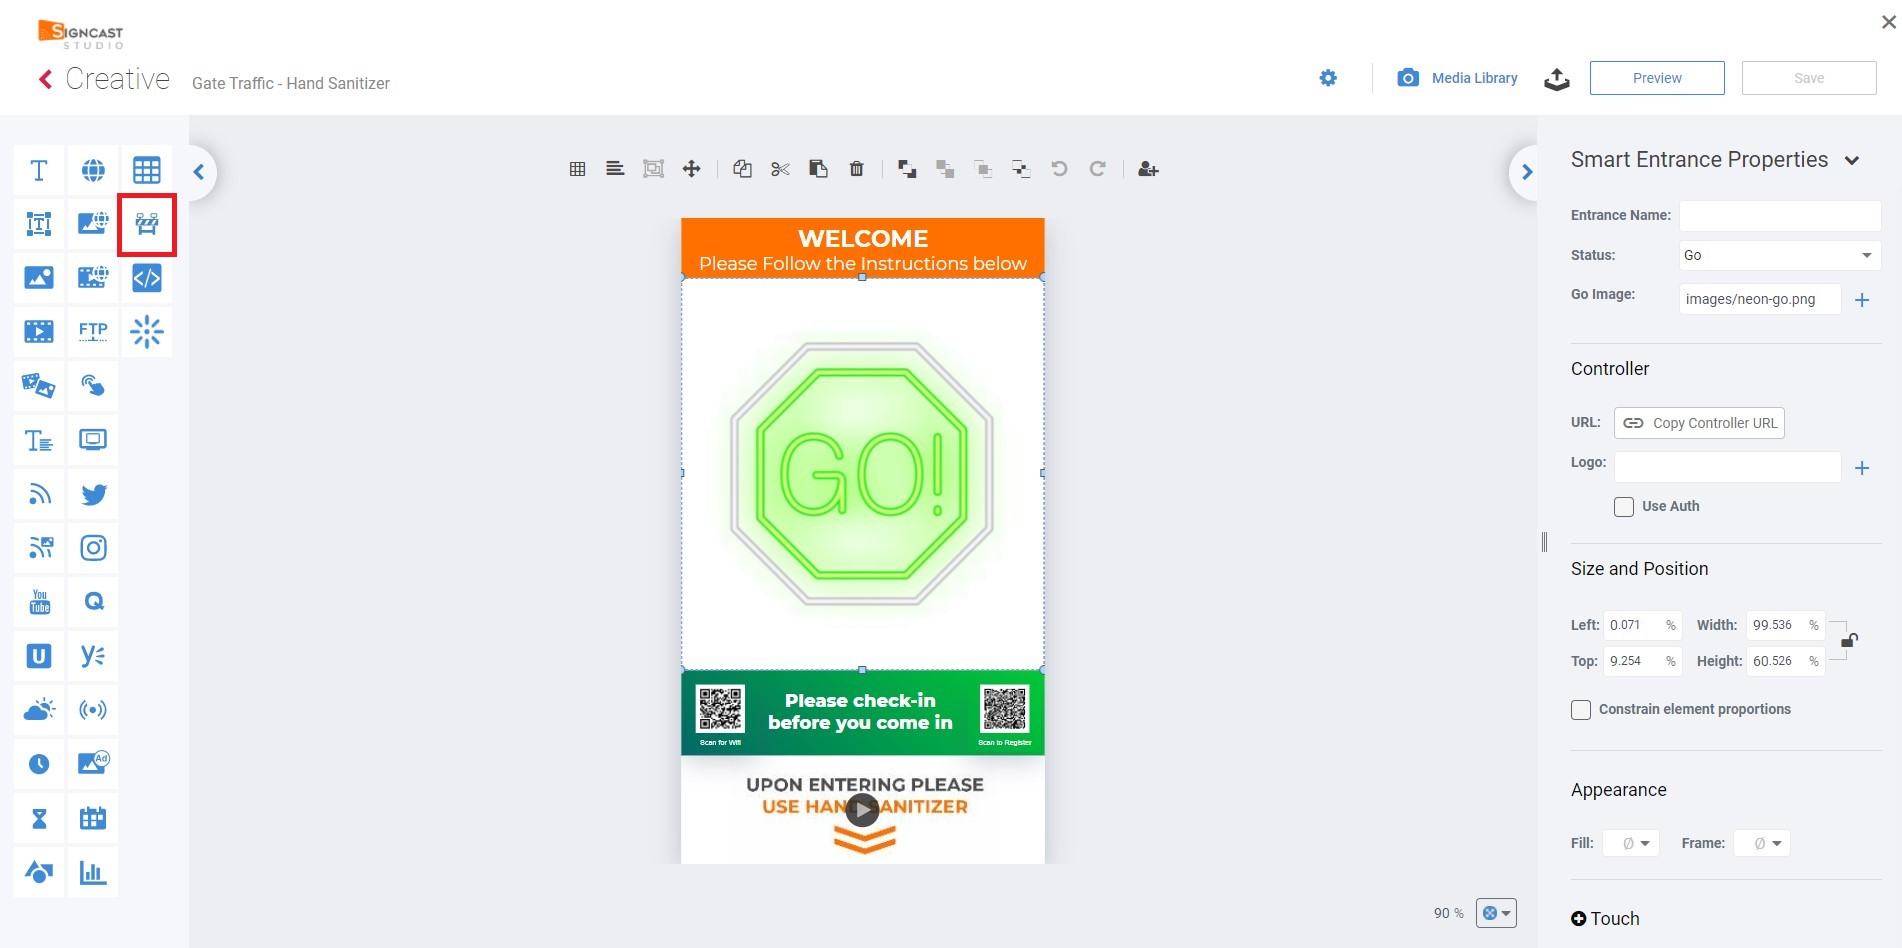
- Create a new composed creative, name it and drag the new Smart Entrance widget (looks like a traffic light icon).

3. In the “Entrance name” property, type the text you wish to appear in the smartphone control app.
4. In the “Logo” property, you can choose a logo to appear in the smartphone control app.
5. You have a “Status” dropdown list, for each of its values, you should choose a default image: the “Default” is what you see on the big screen before everything (and after 2 minutes when there is no communication to the big screen); the “Go” is what you see on the big screen after you have pressed the “Go” button in the smartphone app; the “Stop” is what you see on the big screen after you have pressed the “Stop” button in the smartphone app. Right to the “Default Image” textbox, you need to press the “+” button, in case you’d like to replace the default image we provided for each of the 3 statuses. Of course, you’ll need to repeat this action 3 times, in order to choose a new image either for the default, the go and the stop statuses.

6. Once you completed that, you may add some more elements to the canvas, if you like. Or you can let the widget take 100% of the canvas size.
7. Copy the URL from the “Controller URL” field send/email it to yourself.

8. Open that URL on a browser on your smartphone: this is your app for the traffic gate controller.
9. Back to the Studio: save the creative and exit the Creative Composer.
10. Create a playlist of one creative which is the creative which you’ve just created.
11. Assign this creative to the screen you’re going to place in the store’s entrance.

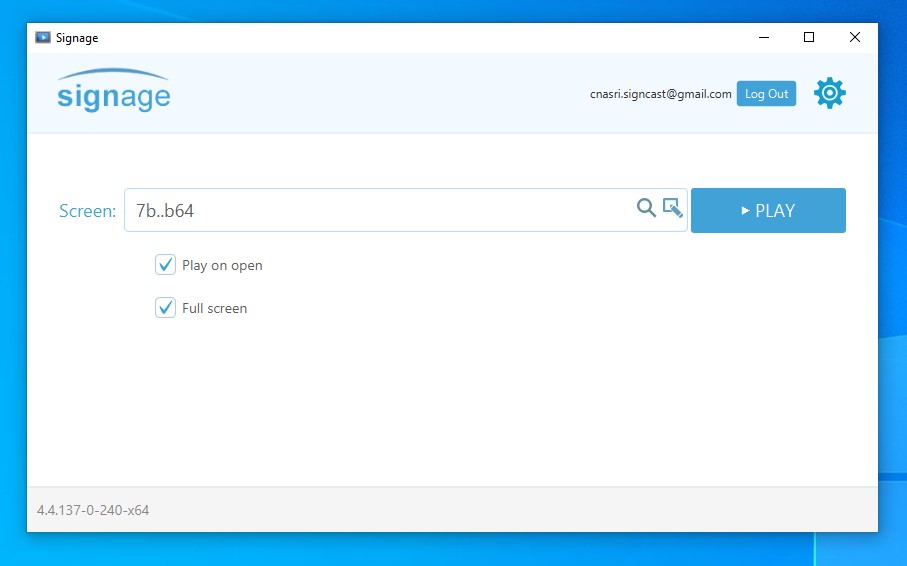
12. Now in the Android unit in the store entrance, run our APK. The latest version of our Android app can always be found here: http://app.onsignage.com/downloads/ or the Onsignage app in the Google Play store.
13. In the app’s settings, turn off the “Display Notifications” (under the “Display” block of settings).
14. Back to the entrance screen of the app: check the “Start automatically…” checkbox. Then login to your account and choose the screen.
15. Press “Go” and that’s it.
16. Now, when you click the stop or go buttons in your smartphone’s app, the store display will change its visual accordingly.

