How to integrate the calendar widget
Here are the steps to integrate a calendar widget:
Please notice that at the moment it supports only Outlook 365 calendar and our native Android player app (Android 5 or above only). Support in our native Windows player app will soon be added.
1. Login to your online Studio user account.
2. Compose a new composed creative.
3. Drag the calendar widget from the left widget arsenal into the canvas.


7. In the new block, “Outlook” will be chosen as the service (no other options for now). Below that, in the “Integration Settings” block, click the dropdown list and choose “+ Add a new integration parameter” (unless you already created it).
8. A new list of settings will appear for creating a new integration parameter: type a name for the parameter (only English characters with no spaces or special characters; please notice it is case sensitive). For example: “MyCal” (without the quotes).

9. Next, type a key for the parameter (can be a digit). For example: “0” (zero without the quotes).
10. Scroll down a little bit and click the “Login” under the “Account” block. Then, login to your Outlook account.
11. Below, in the filters, you can choose any of your available calendars under your Outlook account, the events period, the timezone of the events and the amount of future events.
12. If you press the “Load preview” button, you’ll be able to see the raw data coming from your chosen calendar.

13. Once you’re done, just click the “Ok” button, in the bottom of the window.
14. Press “Ok” again and the window will be closed.
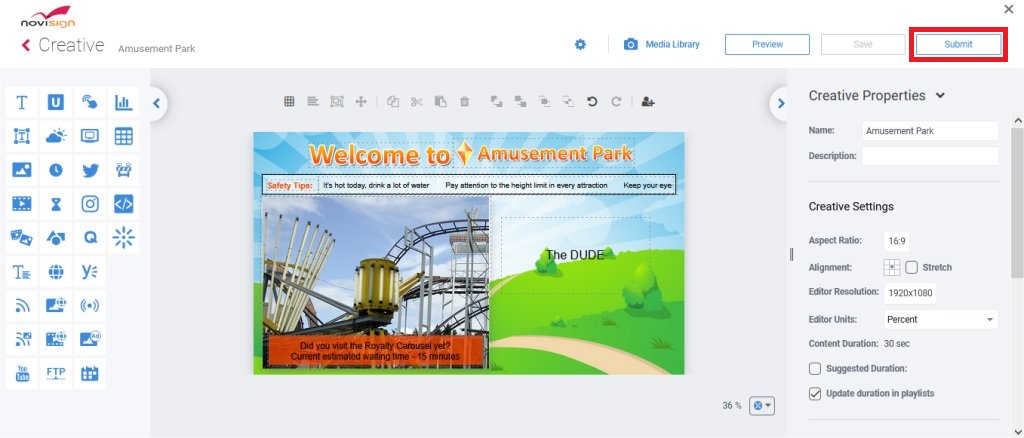
15. Save your creative.
16. Explanation about the “Reload Interval” setting (in the properties pane of the calendar widget): this is the frequency of requests from the running app to the NoviSign server. The NoviSign server caches your calendar for 10 minutes each time. So, in a scenario where the time is 10:00, the calendar cached at 9:59 and your app is set to contact the server every 1 minute and reaches the server at 10:00, 10:01, 10:02, 10:03, 10:04, 10:05, 10:06, 10:07, 10:08 – nothing will be updated on your signage screen, but on 10:09 the server cache will be refreshed with new data from your calendar and only in 10:10 when your signage app reaches the server, it will get new information for your calendar and it will be updated on the screen. If you need faster time, you should consider develop API or using CSV, which will require programmatic work from your end.
17. Create a playlist and add this creative.
18. Assign the playlist to your screen.
19. In your app which is installed on your screen, access the settings and turn off the “Display Notifications” setting (under the “Display” block of settings), to hide notifications.
20. Exit the settings and click “Go” to run your playlist.
Step-by-Step
A step-by-step guide to getting started with Signcast Studio and effectivley using it.
Widget Guide
Learn all about Signcast Studio's many widgets and how to use them.